When it comes to enhancing your home’s aesthetics and energy efficiency, window film can be a game-changer. However, to achieve a flawless DIY window film installation, precise measurements are crucial. In this guide, we’ll walk you through the essential tips and techniques for measuring windows accurately. Whether you’re an interior designer seeking eco-friendly solutions or a homeowner looking to upgrade your space, these insights will ensure your project is a success.
Before diving into the measurement process, it’s important to understand why accuracy matters. Precise measurements ensure that your DIY window film fits perfectly, preventing issues like bubbling, peeling, or inefficient energy performance. By taking the time to measure correctly, you’ll save both time and resources in the long run. According to the U.S. Environmental Protection Agency, improving window efficiency can significantly reduce energy waste in homes.
Gathering the Necessary Tools
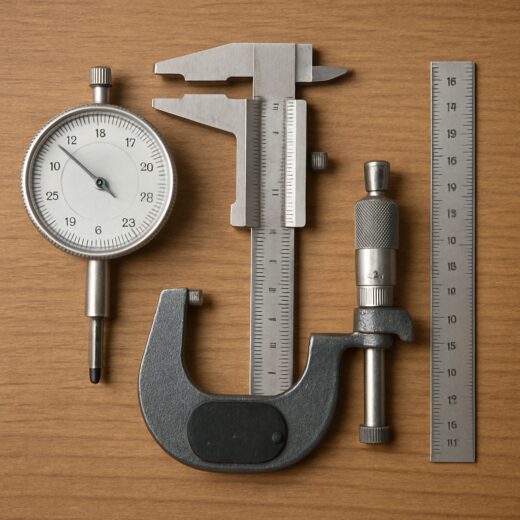
To get started, you’ll need a few basic tools:
- Tape measure
- Pen and paper (or a digital note-taking device)
- Step stool or ladder (for taller windows)
- Level (optional, for ensuring straight lines)
Choosing the Right Tape Measure
Selecting the right tape measure is critical. A flexible, retractable metal tape measure is generally the best choice for window measurements, as it provides both accuracy and ease of use. Ensure that your tape measure is marked with clear, easy-to-read increments.
Step-by-Step Guide to Measuring Windows
Now that you have your tools ready, let’s explore the step-by-step process of measuring windows for DIY window film projects.
Measuring Width and Height
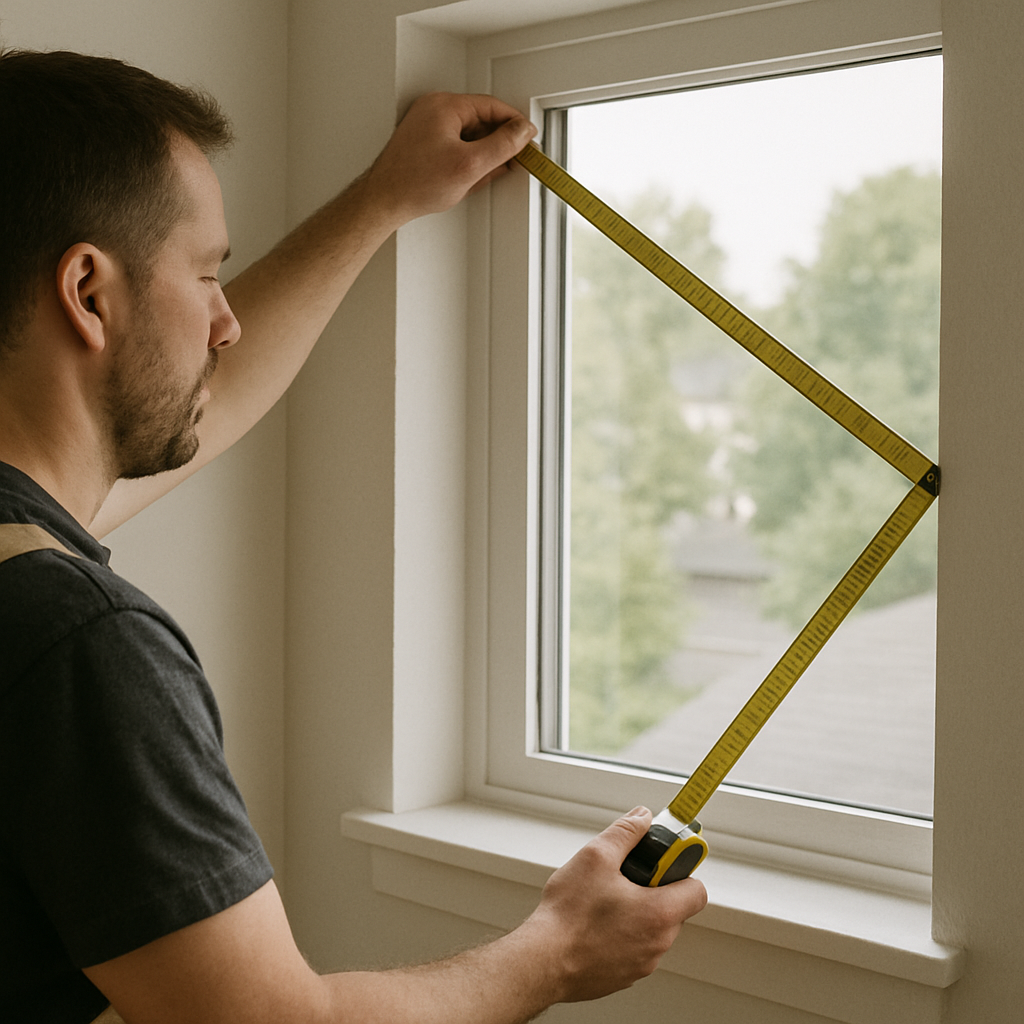
- Start with the Width: Begin by measuring the width of the window from one side of the frame to the other. Take measurements at the top, middle, and bottom of the window. Record the smallest measurement to ensure the film will fit snugly.
- Measure the Height: Next, measure the height of the window from the top of the frame to the bottom. Like with width, measure in three places: left, center, and right. Again, record the smallest measurement.
- Account for Variations: Window frames can sometimes be uneven. If you notice significant variations in your measurements, consider trimming the film slightly smaller to accommodate these differences.
Measuring for Specialty Windows
For specialty windows, such as arched or round windows, the process might differ slightly:
- Arched Windows: Measure the width at the base and the height from the highest point of the arch to the base. For the arch, you might need to create a template using paper or cardboard to ensure accuracy.
- Round Windows: Measure the diameter from one side of the circle to the other. Double-check your measurements to confirm symmetry.
Double-Checking Your Measurements
Accuracy is key, so always double-check your measurements before proceeding with the film purchase. It’s better to spend a few extra minutes verifying measurements than to deal with incorrect film sizes later.
Tips for Ensuring a Smooth Installation
Once you’ve gathered your measurements, you’re ready to move on to the installation phase. Here are some additional tips to ensure a smooth DIY window film installation:
Clean the Window Thoroughly
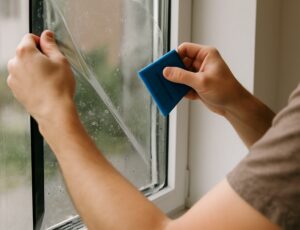
Before applying the film, clean the window glass thoroughly. Remove any dust, dirt, or grease using a gentle cleaning solution and a lint-free cloth. This step is crucial for preventing bubbles and ensuring the film adheres properly.
Cut the Film with Precision
Using your measurements, cut the window film with precision. Allow a slight overlap (about 1/16 inch) on each side to ensure complete coverage. A sharp utility knife or scissors will help you achieve clean, straight edges.
Apply the Film Carefully
Begin applying the film at the top of the window, slowly working your way down. Use a squeegee or a credit card wrapped in a soft cloth to smooth out any bubbles or wrinkles as you go. Take your time and work methodically to achieve a professional finish.

by qyy qyyy (https://unsplash.com/@guheihei2333)
Common Mistakes to Avoid
Even with the best intentions, mistakes can happen. Here are some common pitfalls to watch out for:
- Rushing the Process: Take your time with each step, especially during measurement and application.
- Ignoring Temperature Conditions: Apply window film in moderate temperatures (between 50°F and 75°F) to avoid issues with adhesion.
- Skipping the Cleaning Step: Neglecting to clean the glass properly can lead to unsightly bubbles and poor adhesion.
Conclusion
Measuring windows for DIY window film projects doesn’t have to be daunting. With the right tools, careful attention to detail, and a methodical approach, you can achieve a flawless installation that enhances both the beauty and energy efficiency of your home. The U.S. Department of Energy notes that properly treated windows can play a major role in reducing heating and cooling costs. Whether you’re an interior designer offering clients cost-effective, stylish solutions, or a homeowner embarking on a DIY journey, these tips will guide you to success. By investing time in accurate measurements, you’re setting the stage for a project that will bring lasting benefits to your living space.
Remember, precision is key, and a little patience goes a long way in ensuring your window film project is a rewarding experience. Enjoy your enhanced, eco-friendly windows!